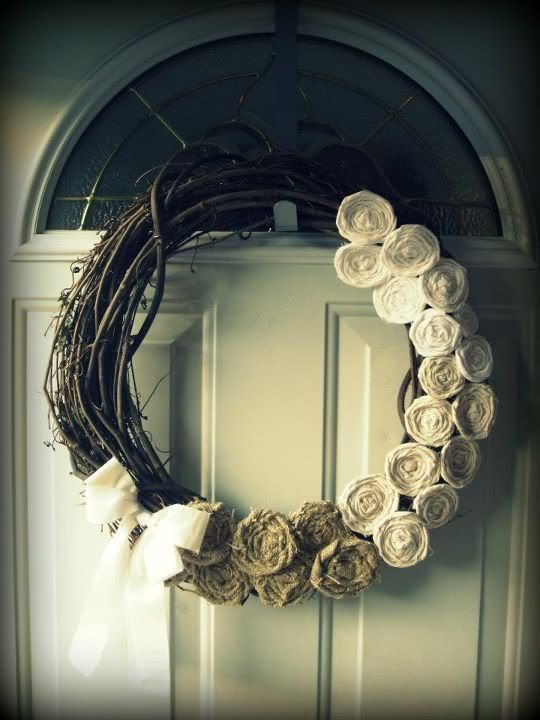
The wreath is called an "Ombre Rosette Wreath" and with the little rosettes on it and the light to dark coloring - I fell in love and HAD to have one.
You can see the link to their version here on Flamingo Toes.
Here is my version because I tweaked it a little bit.
Supplies:
- Grapevine Wreath
- Fabrics in graduated colors - I chose muslin material in white, a light natural color and burlap. You can use any combination of colors though.
- Hot Glue
Start by getting your strips of fabric ready. They should be about 1 1/2″ wide and the length of the material. I would definitely recommend cutting the burlap outside or somewhere that you can vacuum - it can get messy!

First, tie a knot close to one of the ends of a fabric strip. Fold the small piece of material under and attach it to the bottom of the knot with a small bit of hot glue.


Wrap the fabric until you have about 1/2"-3/4" left and tack it to the bottom of the rosette with a bit of hot glue.
And voila! You have your first rosette!

I made 8 rosettes each out of the white and natural colored muslin material, but only 6 rosettes out of the burlap material because it's thicker and they came out much bigger.
Start placing the rosettes on the wreath in the top right corner. Put them together as you like, making sure they touch and possibly overlap just a little.

Now for the finishing touch! The bow! Here is another part of the wreath which you can make "your own" and tweak it how you'd like.
I personally LOVE bows.
Take one piece of both the white and natural colored muslin (or alternate colors if you chose different ones for your own wreath). Simply tie them together and make a bow! If you cannot make the bow to your liking by just using the material, you can always tie around a pencil and then remove the pencil once you've tied your bow!

Then attach the bow to the wreath! It's that simple!
You did it! Your very own handmade rosette wreath!
If you have any questions, by all means feel free to email me at 3littlebugsboutique@comcast.net. I'm more than happy to help any way I can!
Also - PLEASE leave comments or links to your own wreath creations!
Also - linking up to 30 Handmade Days Pity Party and to Flamingo Toes "Think Pink" Sundays!!!
Hugs!

LOVE this! I use the same technique with ribbon to make roses for some cards that I have done!
ReplyDeleteYour wreath turned out very pretty!! I love the addition of the bow - that is a great idea! Thanks so much for the shoutout too - that's so sweet of you!
ReplyDeleteVery pretty!
ReplyDelete