Cute New Layout from Shabby Blogs!

Showing posts with label craft. Show all posts

Wednesday, February 8, 2012

I *LOVE* My New Banner!

Great week thus far... 

Our first week with no real "sickies" in the house...  Kate is almost all the way over her bit of bronchitis...  Mike and Ella are much better after getting over the stomach virus that's been going around too :-/

And me - well I'm pretty good as well...

So I've decided that now that we have a mantle in our living room (YAY!) - I'm going to decorate it for every holiday and season!!!  I want it to be different and fun every time!

This time, I've decided that I would make a super cute pennant banner for it.  And in honor of Valentine's Day - LOVE.


And here's how you can make your own!

Supplies you'll need:
  • Burlap, approxminately 1/2 yard
  • Acrylic paint, your choice of colors - For this particular banner, I used Cherry Red and Black.
  • Lettering stencils or VERY good handwriting/painting skills!
  • Needle and thread
  • Twine
First you'll put the lettering onto the burlap.

Depending on the type of burlap you get, you'll need to apply 2 coats, so that you won't be able to see through it.  While you're waiting for the paint to dry, you can cut the twine for the length you'd like.

Then, once the paint dries you'll cut into smaller pieces for your banner.  Make sure you leave space at the top to fold over and sew down as to make a loop for the twine.

Once all of the pieces are cut, take each piece, fold the top over and stitch 3 small X's across the top to secure it.  Then once sewn, thread the pieces onto your twine.

Ensure that you have a loop at both ends of your twine and hang!

Voila!  Super cute holiday banner!!!

Here are a couple shots of mine!


I know I love mine and I'd love to see yours!

Until next time!

Hugs,

Tuesday, November 1, 2011

Slacking...

Ladies and gentlemen...  I apologize...

I have been slacking QUITE a bit on blogging... 

I've been shoveling snow, working on new pieces and getting ready for craft shows coming up and trying to get my girls ready for Halloween!

Insert SUPER cute picture of my girls HERE:

That's right guys!

A Zombie Cowgirl (because "Mommy I don't think a cowgirl is what I want to be because it's not scary...  So I think I'm gonna be a ZOMBIE Cowgirl")...

And Rapunzel...  From Tangled...  And YES - that IS a frying pan.  If you don't know what it's about - then you havne't seen the movie...  If that happens to be the case - see it...  It's SUPER cute :-)

We had a great night...  

Though it was cold - did you notice I mentioned earlier in the post that I was  
SHOVELING SNOW?!  
IN OCTOBER!  
We got 6 inches at our house...  SoIt was crazy...  The weekend before it was an awesome sunny day and we went to Kings Dominion for their Fearfest...  Then BAM!  Snow comes the weekend after.....  And it just so happens to be the weekend before we have to traipse around in peoples' yards LOL :-)

Short and sweet this evening...
I'm swamped with getting everything together for the shows and my hubbs has a race this weekend!

GO TEAM AWESOME!

Monday, October 10, 2011

Linking Up To Tip Me Tuesday!

Linking Up to Tip Junkie's "Tip Me Tuesday" here.

Tip Junkie handmade projects

So I decided that I wasn't really completely happy with my original table runner that I made...

I was inspired by THIS and wanted to make another one!

So off I went!

Here's the supplies that you'll need

  • Burlap
  • White muslin material
  • Natural muslin material
  • Black ribbon
  • Fall (or any other season if you prefer) decor - flowers, leaves, etc
  • Alligator clips
 I cut the natural colored muslin fabric in about 6 inch strips and the white muslin in about 4 inch strips.  Runners can be made as thin or as wide as you'd like them to be depending on your table size.  I usually make mine about 10-12 inches from each edge of the table on either side.  After cutting it was time to SEW!

I have my Memaw's sewing machine on loan because the presser foot on my great grandma's is moving when I try to sew and I need to get it fixed...


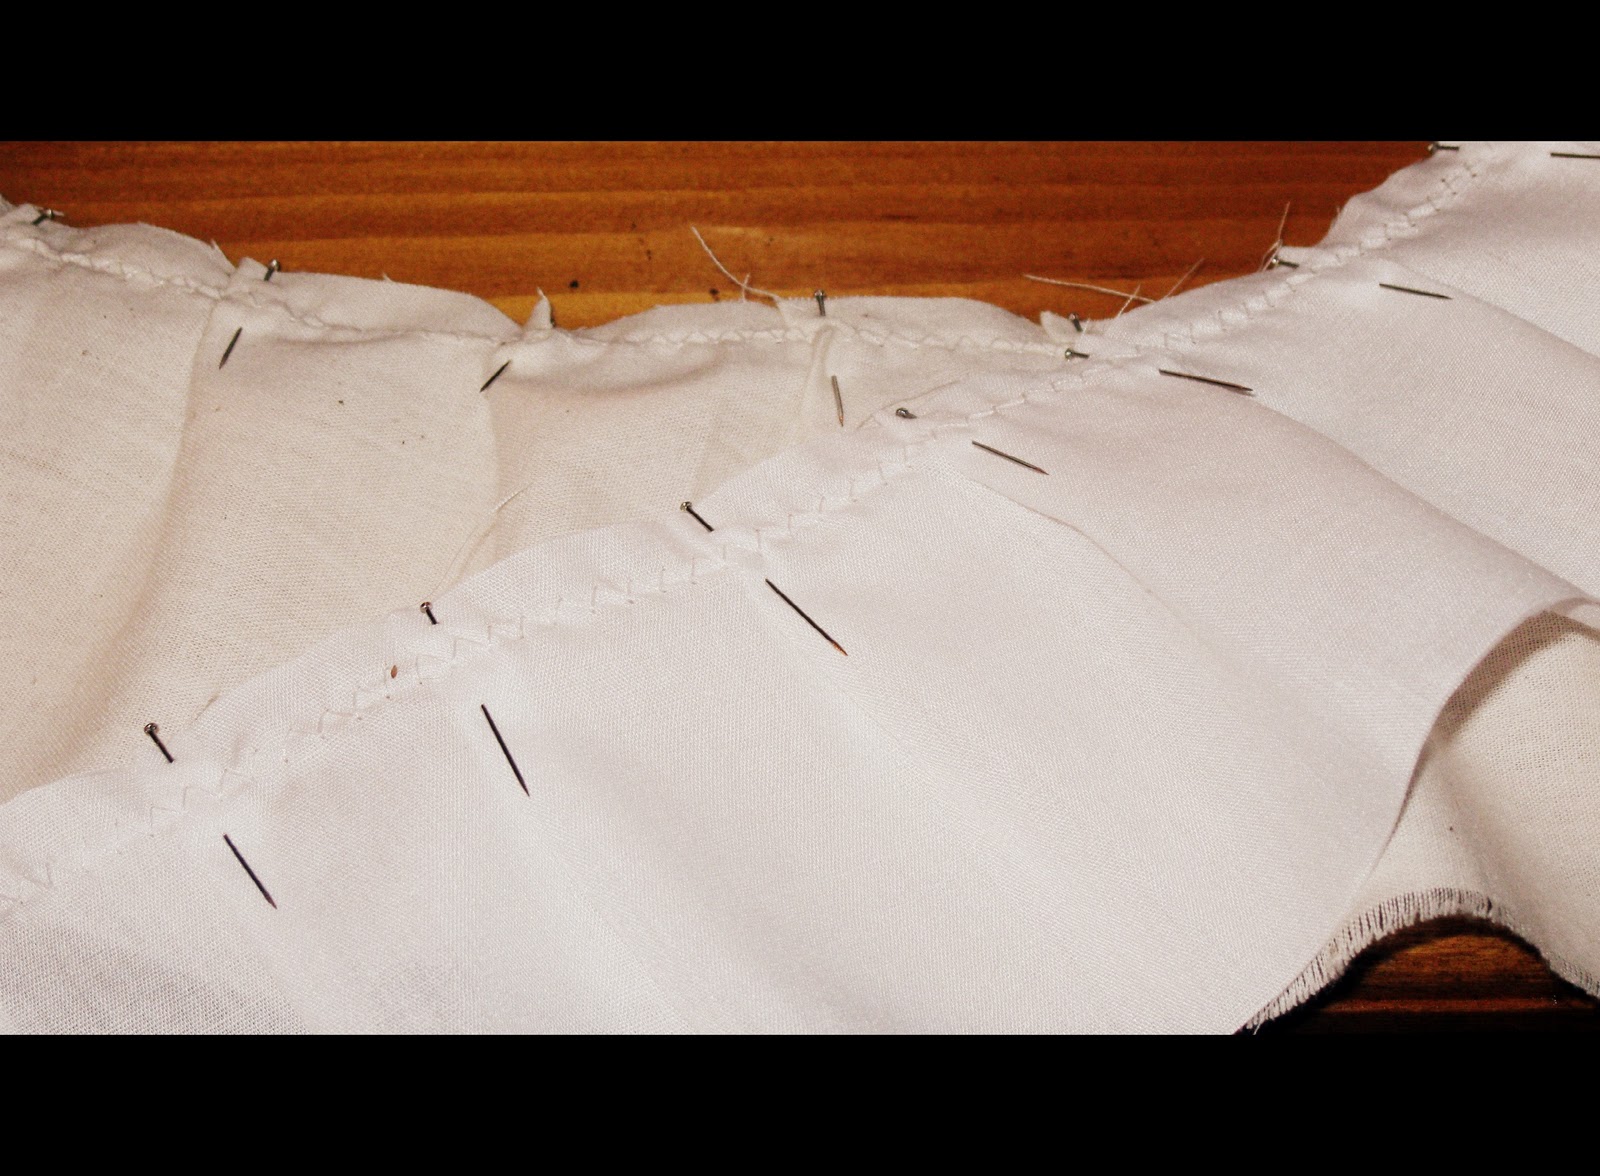
You'll want to pin the pieces of material to make the ruffles on either end of the runner. 

Stitch the edge of the muslin material and then pin the ribbon on the opposite edge of the muslin material and stitch on.


Attach the natural colored muslin material to the burlap and then do the same with the white muslin on top of the natural colored material.


Then VOILA!  You have a sweet little runner...


 I attached some plain ribbon to the alligator clips just to hide the silver clip.  Then made a small bouquet of leaves and berries, attached them to the clips and added them to the runner to give it  a "Fall touch". 


I can definitely say that I think it will look adorable in the Spring as well with some bright daisies or other flowers maybe?


What do you think!?  I'm always open to feedback!

Hugs!